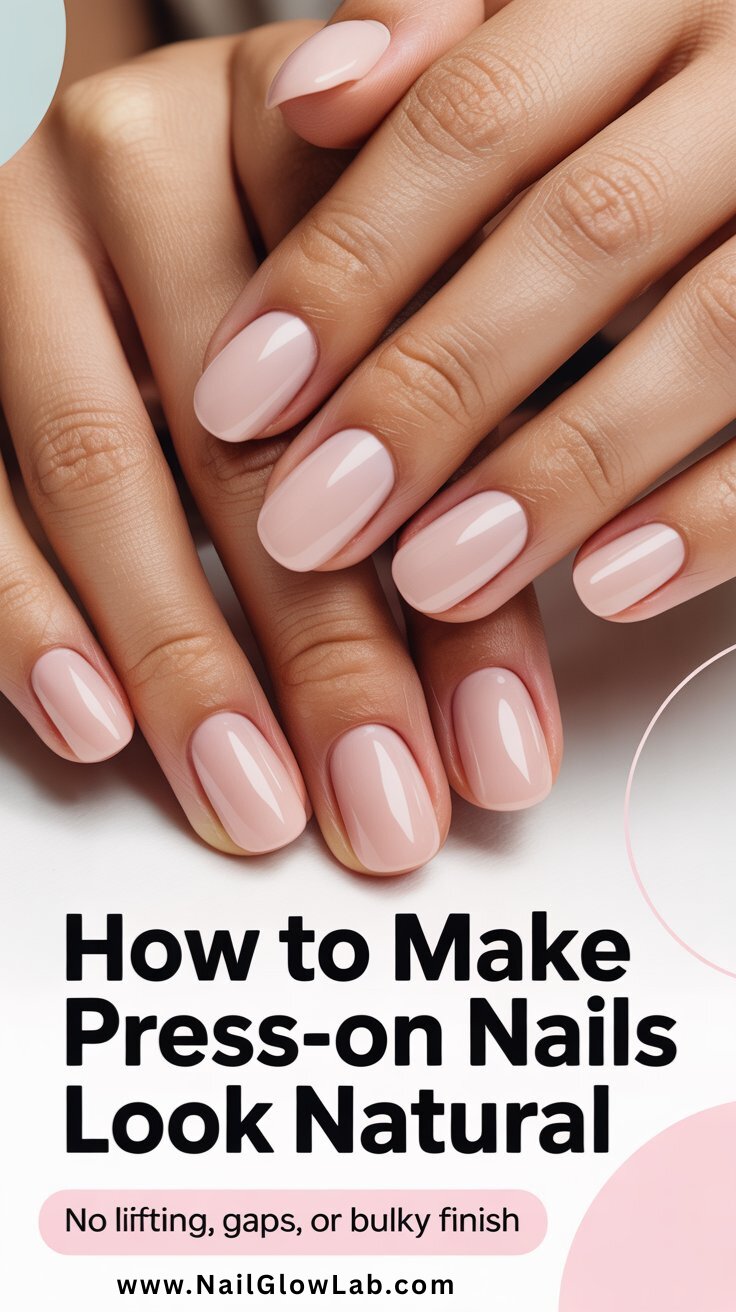
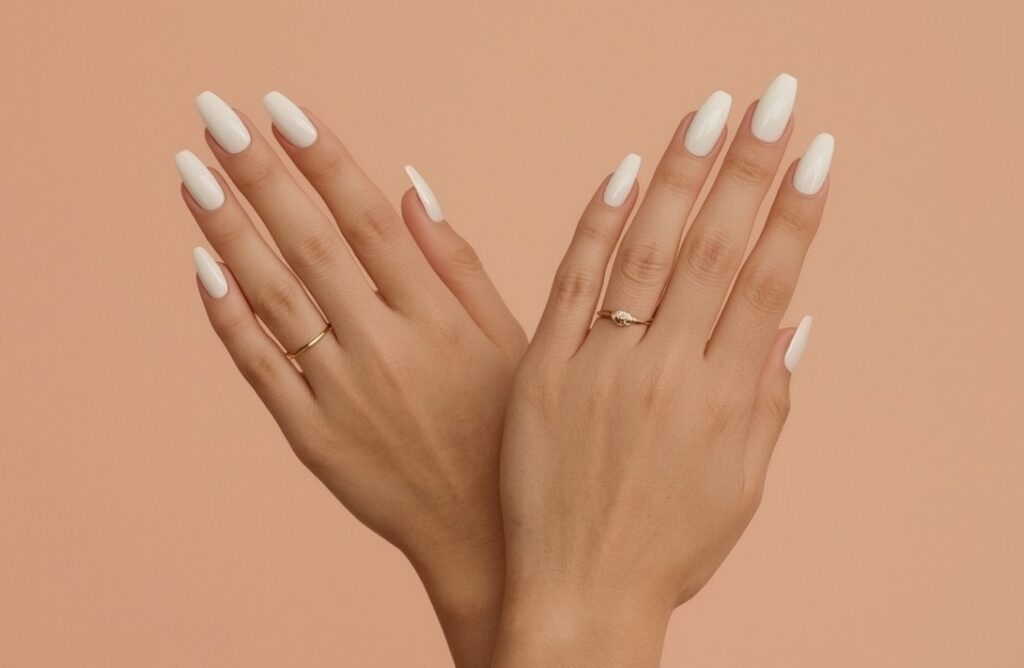
Press-on nails have completely changed the at-home manicure game. Salon-quality polish, intricate designs, and flawless shape—in minutes, without the appointment or the price tag.
But let’s be honest: if you’ve ever opened a fresh set, applied them, and thought, “These look… fake,” you’re not alone.
The truth? Press-on nails don’t look fake because of the nails themselves. They look fake when the small details are overlooked. Wrong sizing, rushed prep, too much glue, unblended edges, or designs that fight your natural nail shape—all of these add up to that “plastic” finish we’ve all tried to avoid.
But when you get the details right? Press-ons sit flush, blend seamlessly, and look indistinguishable from a professional manicure. Sometimes, they even look better because you control the fit, the shape, and the finish.
In this guide, we’ll walk you through exactly how to make press-on nails look natural, stay secure, and avoid lifting, gaps, or a bulky finish. From prep to polish, sizing to sealing—this is your complete, step-by-step blueprint for salon-worthy nails at home.
Why Press-On Nails Sometimes Look Fake (And How to Fix It)
Before we dive into application, let’s quickly name the usual suspects. If your press-ons look obvious, it’s usually because of one (or more) of these:
- Wrong nail size → Too big sits on skin; too small leaves visible gaps
- Skipping nail prep → Oils and shine prevent a flush, long-lasting bond
- Overusing glue → Creates thickness, mess, and air pockets
- Unfiled or sharp edges → Makes nails look stiff and unnatural
- Overly dramatic designs → Can clash with your natural nail bed and hand shape
Fix these, and you’ll instantly upgrade from “obviously press-on” to “effortlessly polished.”
9 Steps to Make Press-On Nails Look Natural & Stay Put
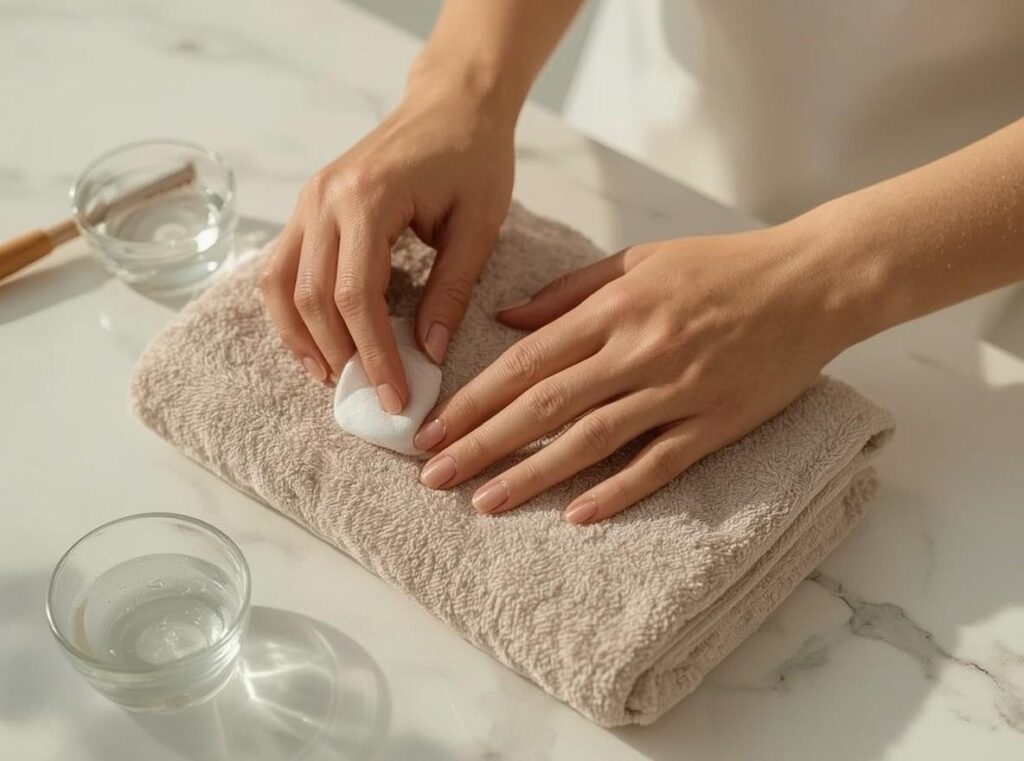
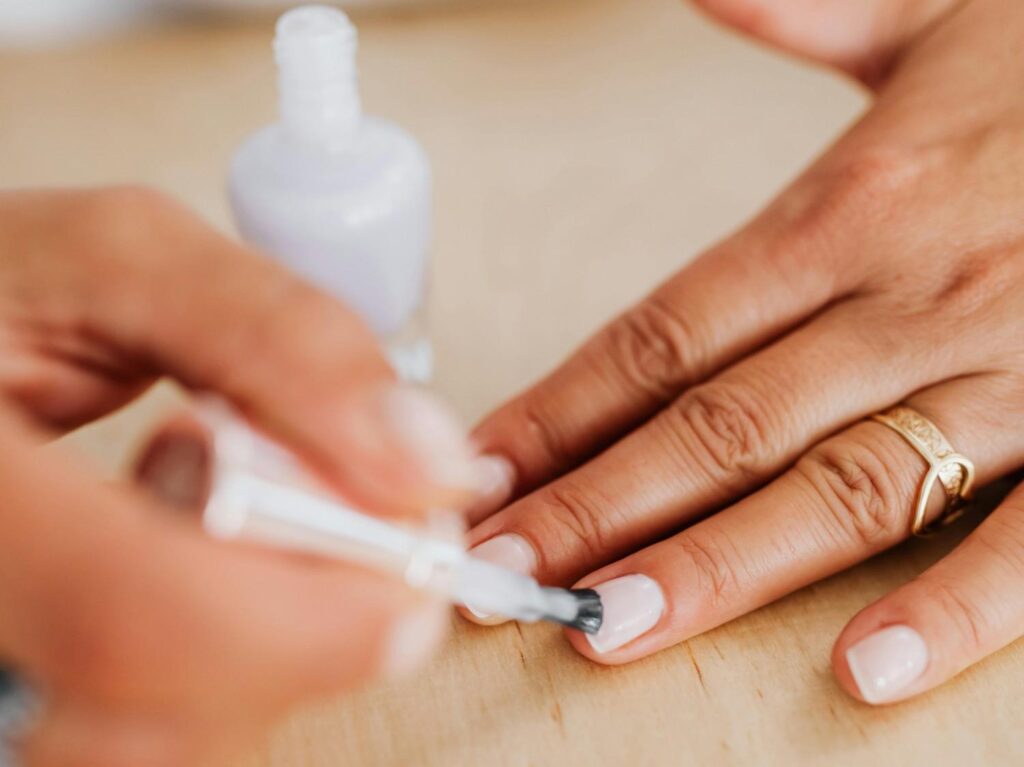
Step 1: Prep Your Natural Nails (Don’t Skip This!)
This is the foundation. If your nail bed isn’t clean, dry, and lightly textured, your press-ons will never sit flat or last.
- Remove old polish completely
- Gently push back cuticles (never cut them aggressively)
- Lightly buff the surface to remove shine
- Wipe each nail with rubbing alcohol or a nail dehydrator
Why it works: Buffing and dehydrating create a slightly rough, oil-free surface so the press-on bonds flush—not slippery or lifted.
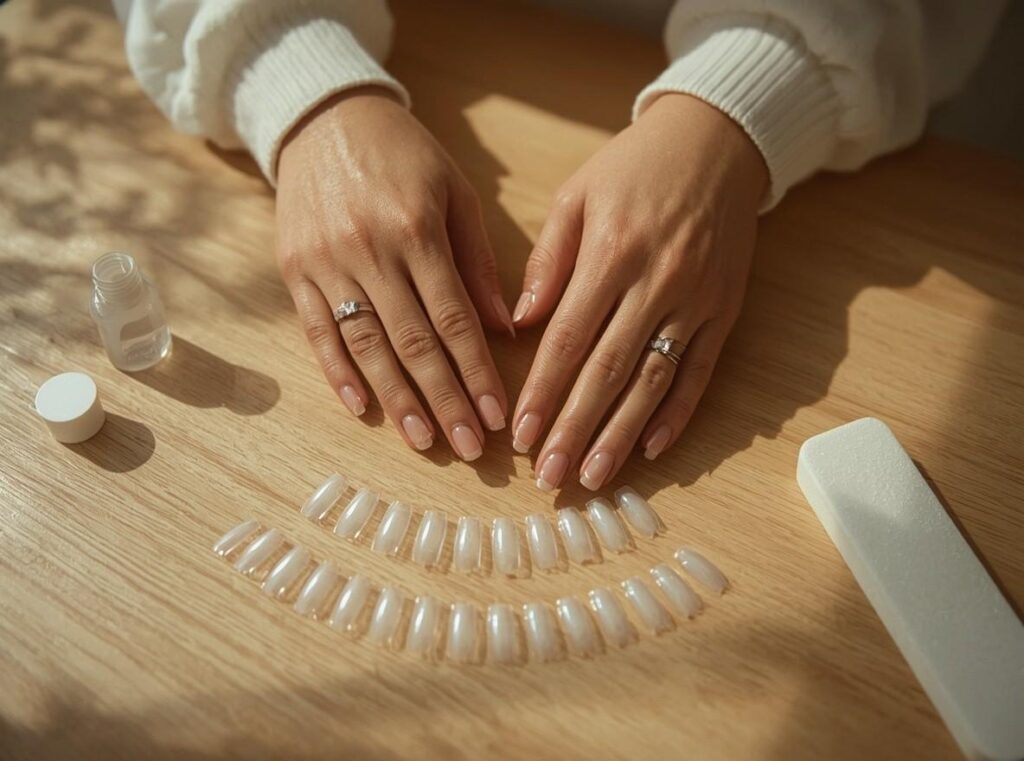
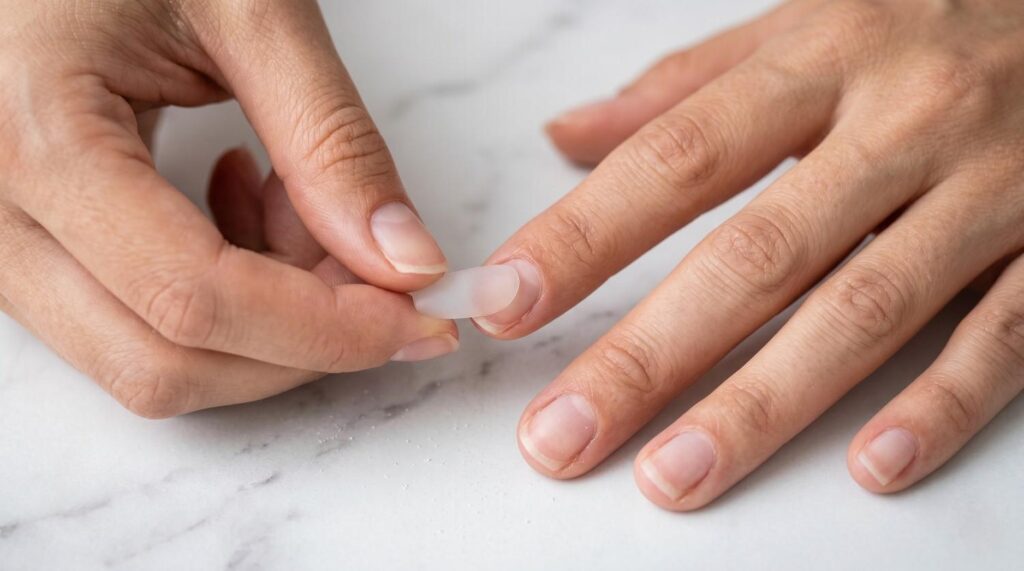
Step 2: Size Each Nail Perfectly
Fit is everything. A press-on should cover your nail bed edge-to-edge without touching your skin.
- Test every size before gluing
- If between sizes, choose the slightly larger one and file the sides down
- Avoid nails that overhang or leave gaps at the cuticle or sides
Pro tip: Line them up on your hand before opening the glue. Precision now saves frustration later.
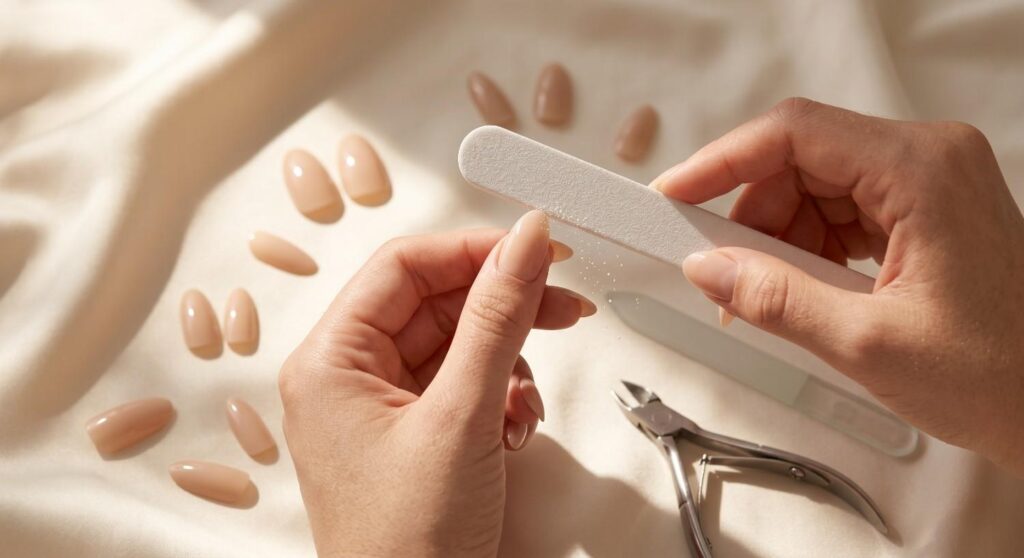
Step 3: Shape & Customize for Your Hands
Most press-ons come in uniform shapes, but customizing them makes them look grown-in, not glued-on.
- File the sides to match your natural nail width
- Adjust length to suit your finger proportions (medium/short often looks most natural)
- Soften sharp tips with a gentle file for a realistic, lived-in finish
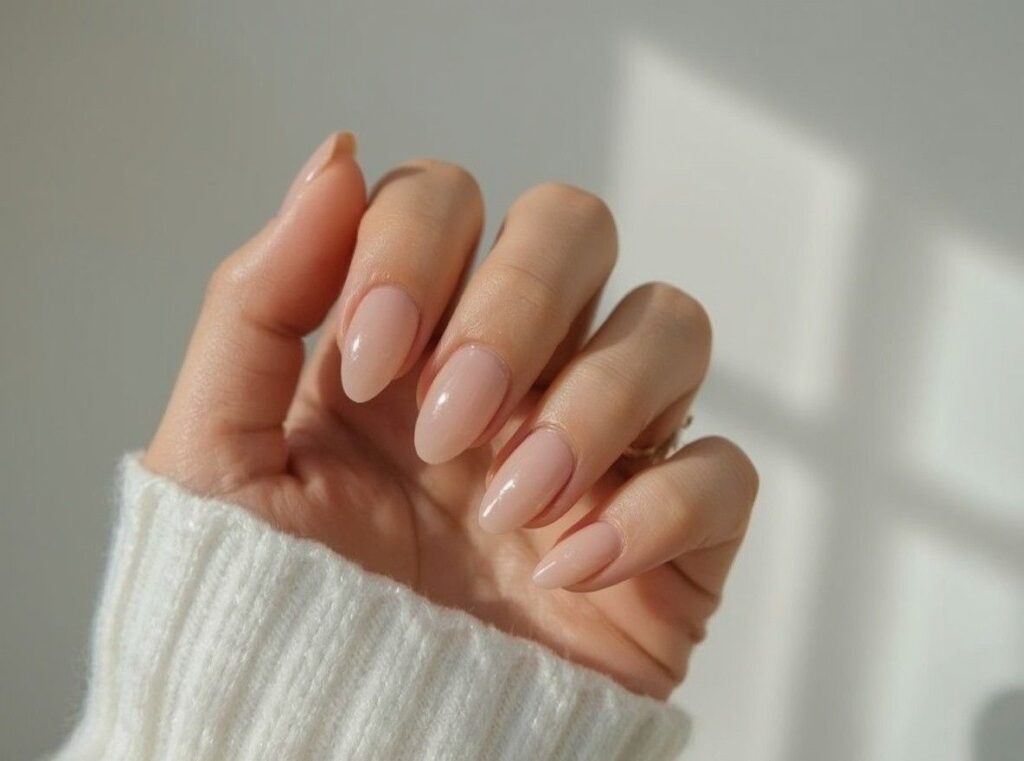
Style note: Soft almond, rounded square, or oval shapes tend to blend best with natural nail beds.
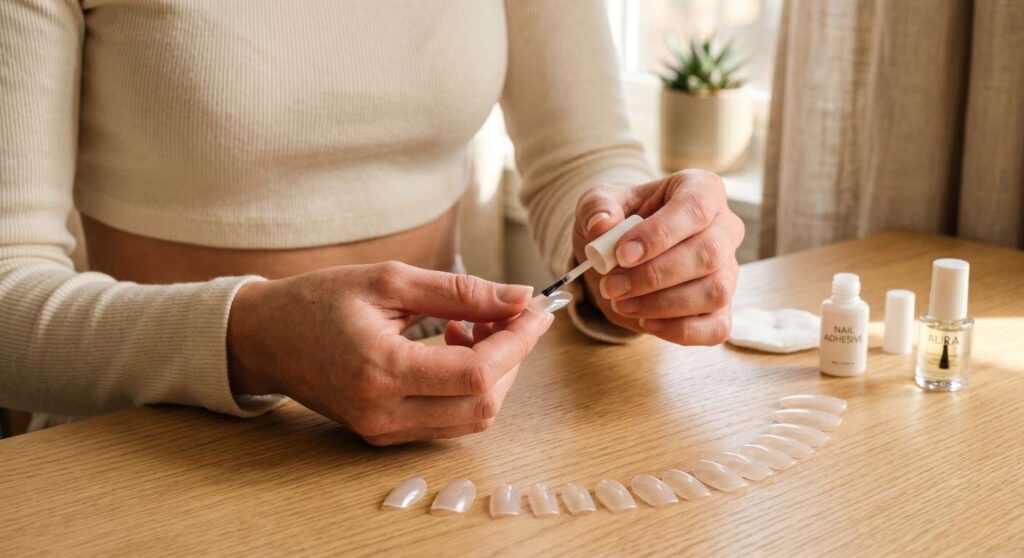
Step 4: Apply the Right Amount of Glue
More glue ≠ stronger hold. It equals mess, thickness, and lifting.
- Use a thin, even layer on both your natural nail and the press-on
- Avoid flooding the cuticle or edges
- Press firmly for 20–30 seconds to seal the bond
Why it works: Thin glue cures flat, leaving no visible ridge or bulk.
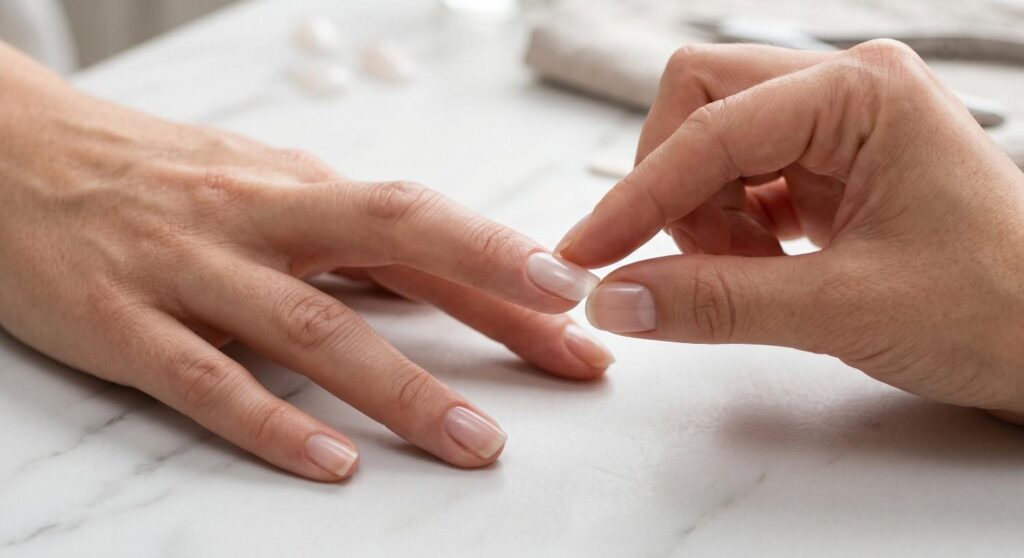
Step 5: Position with Precision
Placement makes or breaks the “natural” illusion.
- Align the press-on as close to your cuticle as possible without touching skin
- Press from the base forward, squeezing out excess glue
- Wipe away any overflow immediately with a cotton swab
Goal: Zero gap at the base. That’s what creates the “grown from your nail” effect.
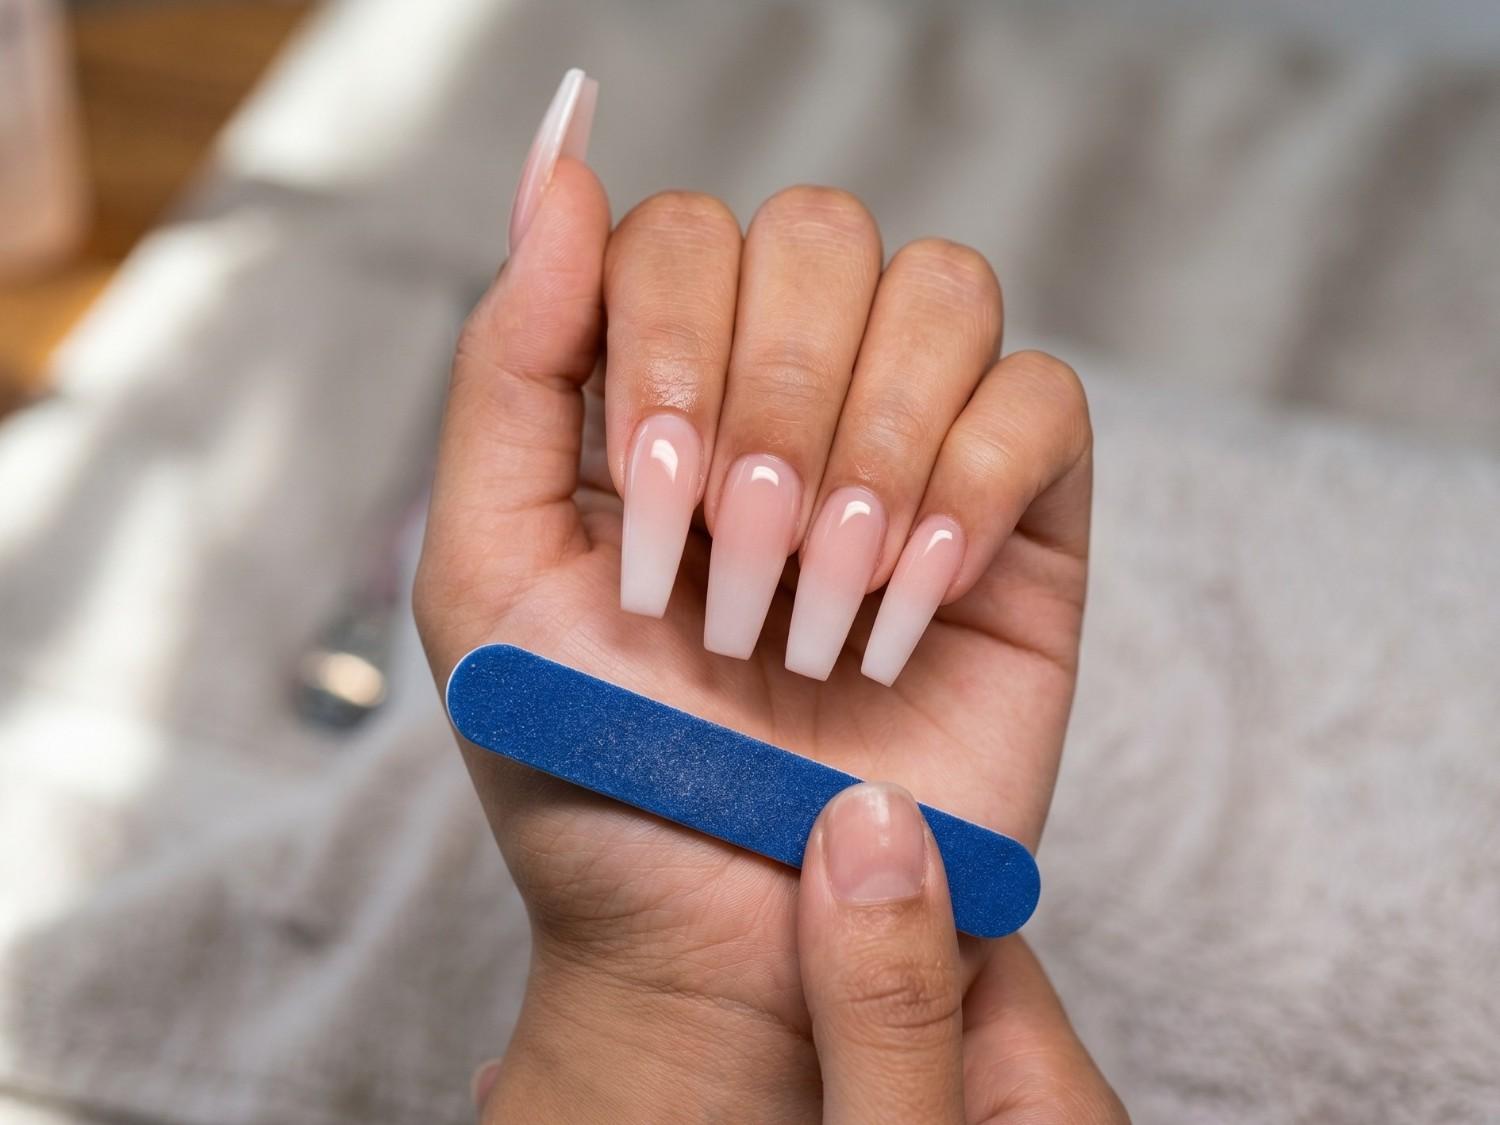
Step 6: Blend the Edges for a Seamless Finish
This is the secret most tutorials skip.
- Once glued, take a fine-grit file and gently buff the seam where the press-on meets your natural nail
- File in one direction to avoid fraying
- Smooth until you can’t feel a ridge with your fingertip
Result: A completely seamless transition that tricks the eye (and the camera).
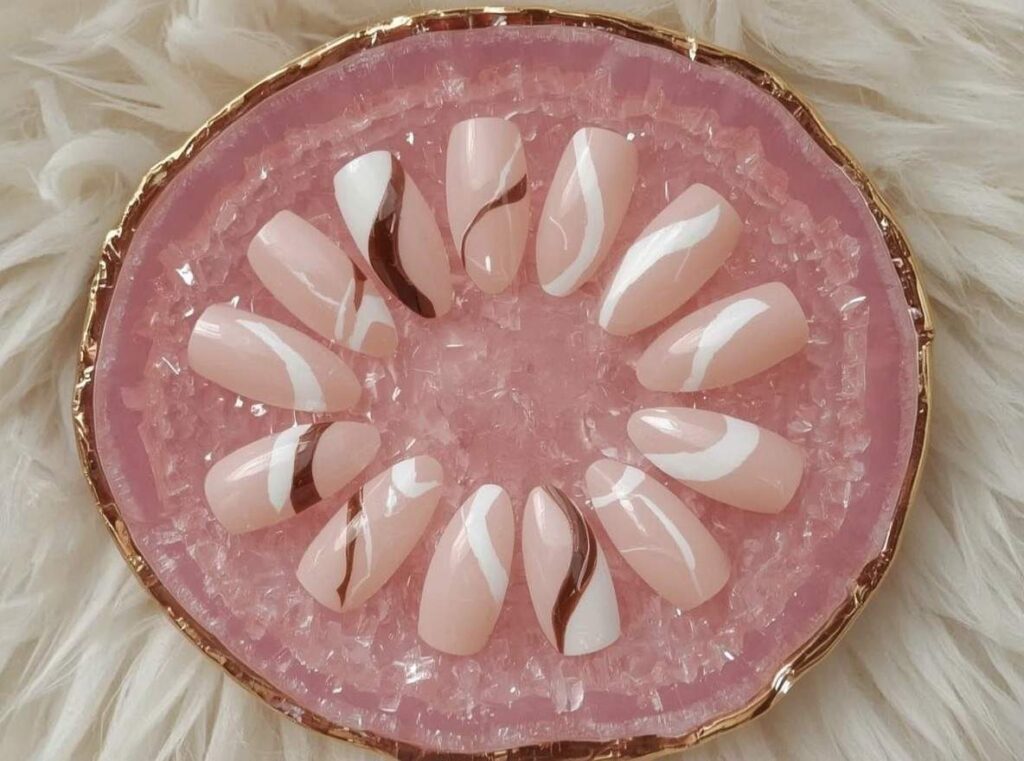
Step 7: Choose Designs That Look Naturally Yours
Not all art reads as “real.” For a natural finish, lean into:
- Nude, blush, milky white, or soft pink bases
- Minimalist french tips, subtle shimmer, or delicate line art
- Glossy or satin finishes (avoid overly thick 3D charms if you want realism)
Style tip: Save bold glitter, extreme length, or heavy embellishments for accent nails only.
Step 8: Seal with a Quality Top Coat
A top coat isn’t optional—it’s the polish that makes everything look intentional.
- Apply a thin layer of glossy or matte top coat over the entire nail
- Wrap the free edge to prevent chipping
- Let dry completely before handling anything
Why it works: It smooths micro-imperfections, unifies the finish, and gives that fresh-from-the-salon shine.
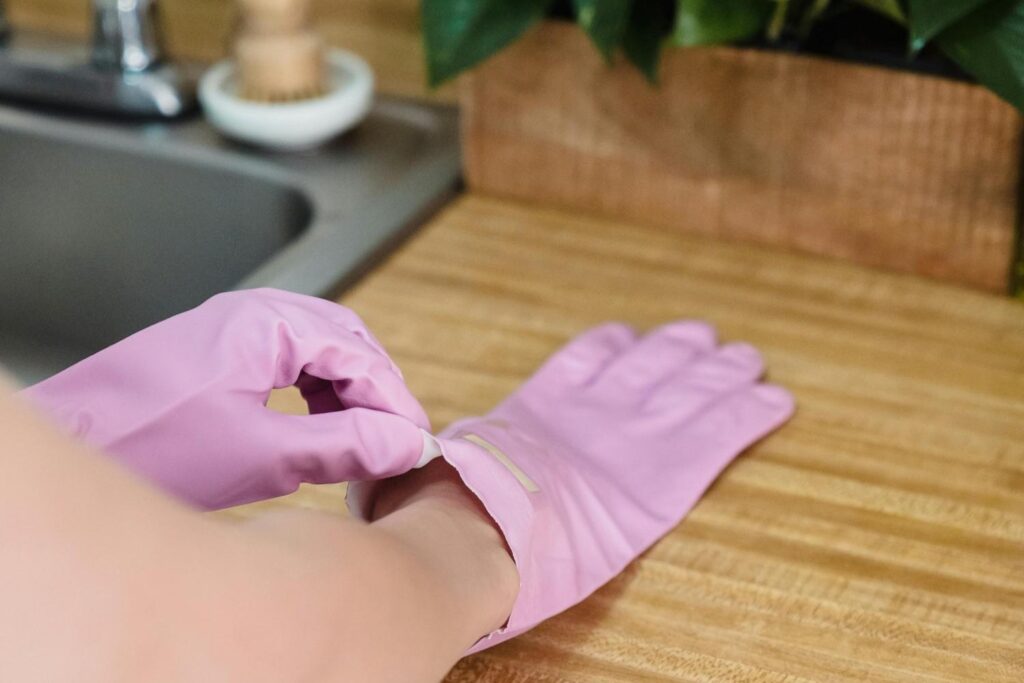
Step 9: Maintain Them Like a Pro
How you treat them after application determines how long they look flawless.
- Wear gloves for dishes, cleaning, or gardening
- Avoid using nails as tools (opening packages, scratching surfaces)
- Reapply a thin top coat every 3–4 days to refresh shine and seal edges
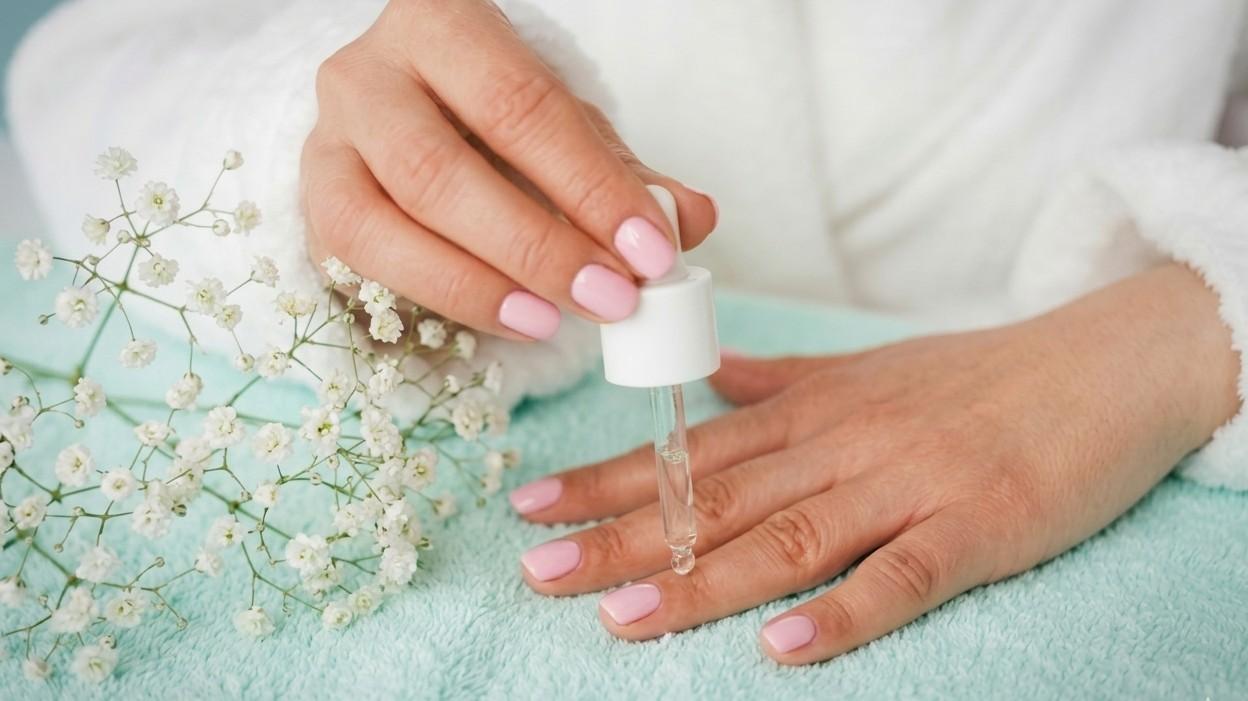
- Moisturize cuticles daily (but keep oil away from the glued seam)
Common Mistakes That Ruin the Natural Look
Even with great nails, these habits will give the game away:
- Skipping prep → Leads to lifting, gaps, and uneven adhesion
- Forcing the wrong size → Creates bulky edges or visible skin underneath
- Drowning in glue → Leaves thick, cloudy ridges that scream “press-on”
- Ignoring the seam → Unblended edges catch light and look artificial
- Rushing the process → Natural nails take patience. Speed sacrifices realism.
Extra Tips to Make Press-On Nails Look Expensive
Looking high-end isn’t about price—it’s about refinement.
- Keep cuticles hydrated → Dry, ragged skin makes even perfect nails look unkempt
- Invest in quality sets → Thin, flexible nails with realistic curvature blend better than thick, flat ones
- Stick to clean color palettes → Neutrals, soft gradients, and minimalist art always read as elegant
- Do mini touch-ups → Smooth lifting edges, refresh top coat, and check seams weekly
- Match your vibe → Choose shapes and colors that complement your hand shape, skin tone, and personal style
At the end of the day, simplicity + consistency = expensive-looking nails.
Effortless Beauty Starts with Intention
Making press-on nails look natural isn’t about perfection. It’s about paying attention.
To the way you prep. To the millimeter of space at your cuticle. To the thin layer of glue, the blended seam, the quiet gloss of a fresh top coat. These aren’t “extra” steps—they’re the difference between “I glued these on” and “These look like they grew that way.”
When you slow down and treat each press-on like a custom piece, something magical happens: they stop looking like accessories and start looking like you. Polished. Intentional. Confident.
So next time you open a fresh set, take a breath. Prep properly. Size carefully. Blend gently. Seal thoughtfully. And watch how quickly “fake” transforms into flawlessly natural.
Save this guide for your next at-home manicure, tag us in your press-on transformations, or simply pause tonight and give your nails the care they deserve. 🌸