If you’re here, you probably love press-on nails as much as I do—and you’re tired of watching them pop off after just a day or two. I get it. There’s nothing more frustrating than spending time applying a flawless set only to find one nail lifting by tomorrow morning.
But here’s the good news: press-on nails don’t have to be temporary.
I’ve been wearing press-ons consistently since 2017, and over the years, I’ve dialed in a simple, repeatable routine that consistently keeps my sets intact for 10–14 days (sometimes longer!). It’s not about expensive products or salon tricks. It’s about preparation, precision, and patience.
Before we dive into the 5-step process, let’s quickly revisit why press-ons are worth the effort in the first place.
3 Reasons You Should Be Wearing Press-On Nails
1. They’re Incredibly Affordable
A high-quality press-on set usually costs $8–$15. If you can make them last two weeks, you’re spending less than $20 a month for salon-quality nails. Compare that to the $50–$80+ you’d spend on a gel or acrylic fill, and the savings add up fast.
2. Endless Versatility
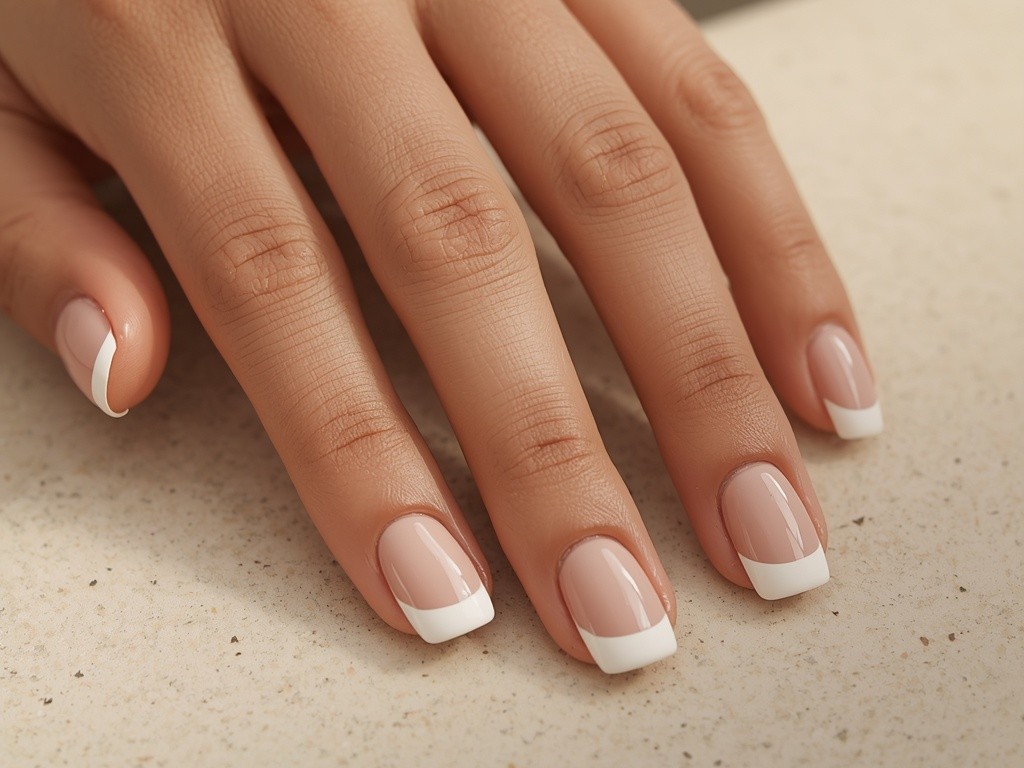
Want short and subtle today, long and dramatic tomorrow? Press-ons let you switch shapes, lengths, and finishes without commitment. Coffin, almond, stiletto, oval, matte, glossy, French tips, nail art—the options are limitless. And because they’re removable, you can match your nails to your outfit, mood, or event without damaging your natural nails.
3. Totally DIY-Friendly
No appointments. No waiting rooms. No scheduling around someone else’s calendar. Press-ons let you create a beautiful manicure in the comfort of your own home, on your own time. It’s self-care that actually fits into a busy life.
The 5-Step Routine to Make Press-On Nails Last 2+ Weeks
What good is a gorgeous set if it doesn’t stay put? The secret to longevity isn’t the glue—it’s how you prepare your natural nails before you even open the box. Follow these 5 steps exactly, and you’ll never deal with premature lifting again.
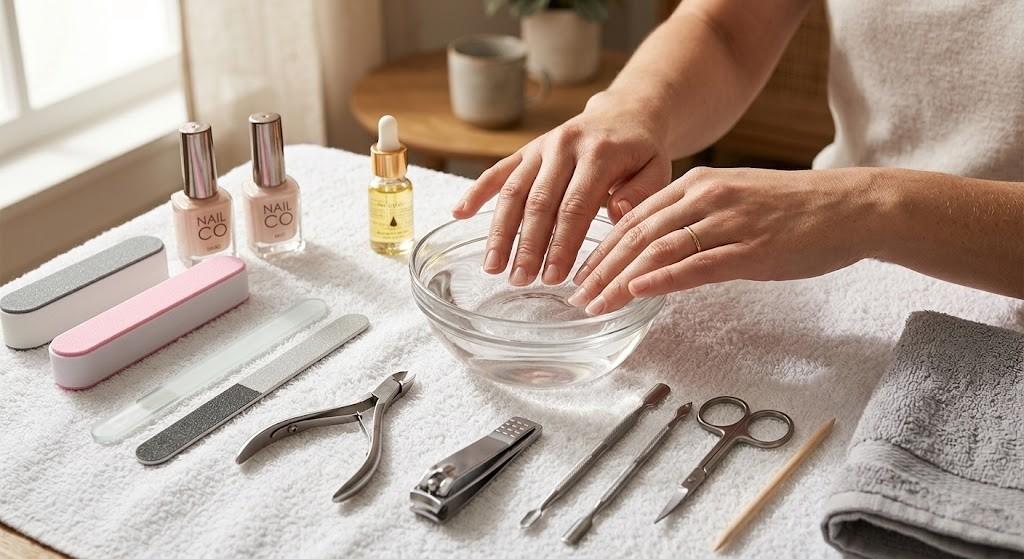
✅ Step 1: Gather Your Tools
You can’t build a strong foundation without the right supplies. Keep these on hand:
- Acetone-based nail polish remover (cuts through oils and old polish best)
- Nail clippers to trim your natural nails short
- Cuticle pusher & fine-grit nail file
- Your press-on nail kit
- High-quality nail glue (I strongly recommend glue over adhesive tabs. Tabs don’t cover the full nail bed, create bulk, and prevent the press-on from sitting flush—leading to faster lifting.)
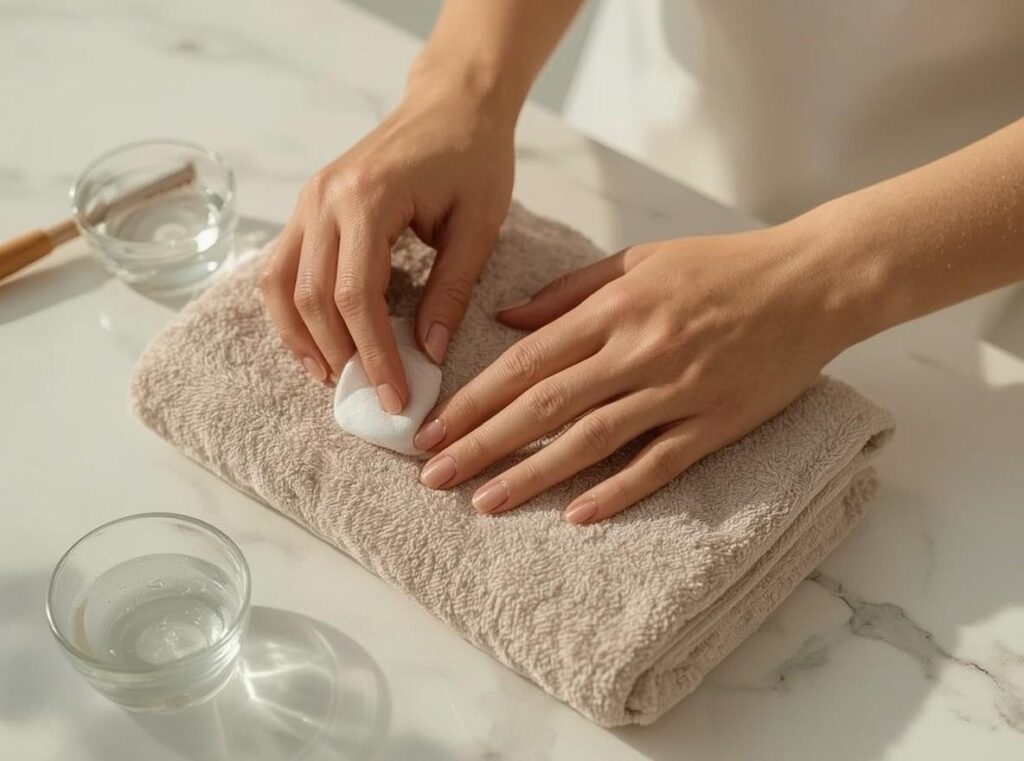
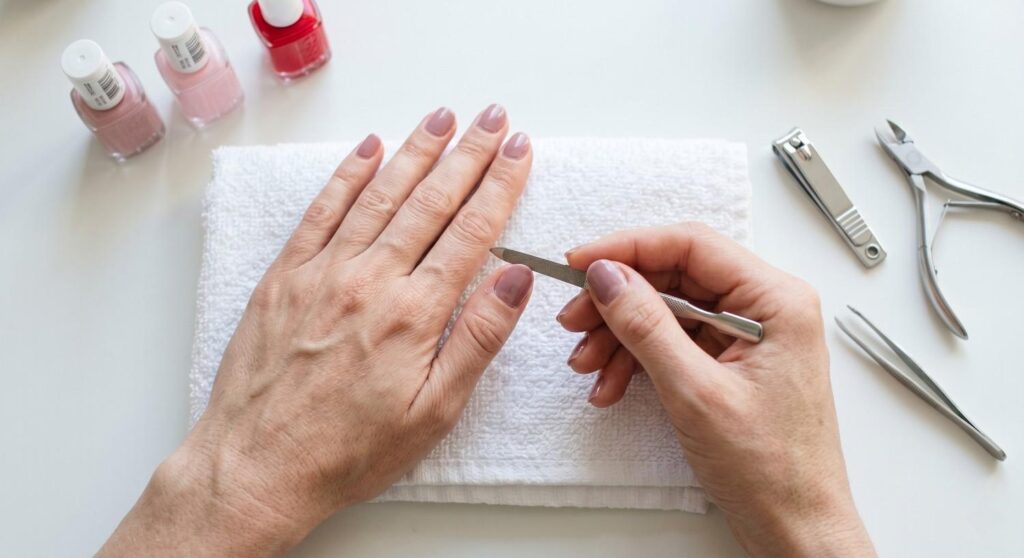
✅ Step 2: Prep Your Natural Nails (The Most Important Step)
A clean, dry, oil-free nail bed is non-negotiable. Skip this, and even the best glue will fail.
- Remove all old polish completely. Soak a cotton pad in remover, press it on the nail for 10 seconds, then wipe clean.
- Trim & file your natural nails as short as possible. This prevents your real nail from peeking out or creating a weak edge underneath the press-on.
- Soak in warm water for 10–15 minutes to soften cuticles. Gently push them back and carefully trim only loose, dead skin (many prefer to just push them back to protect the nail matrix).
- Wash & dry thoroughly. Any residue, dust, or moisture will sabotage adhesion.
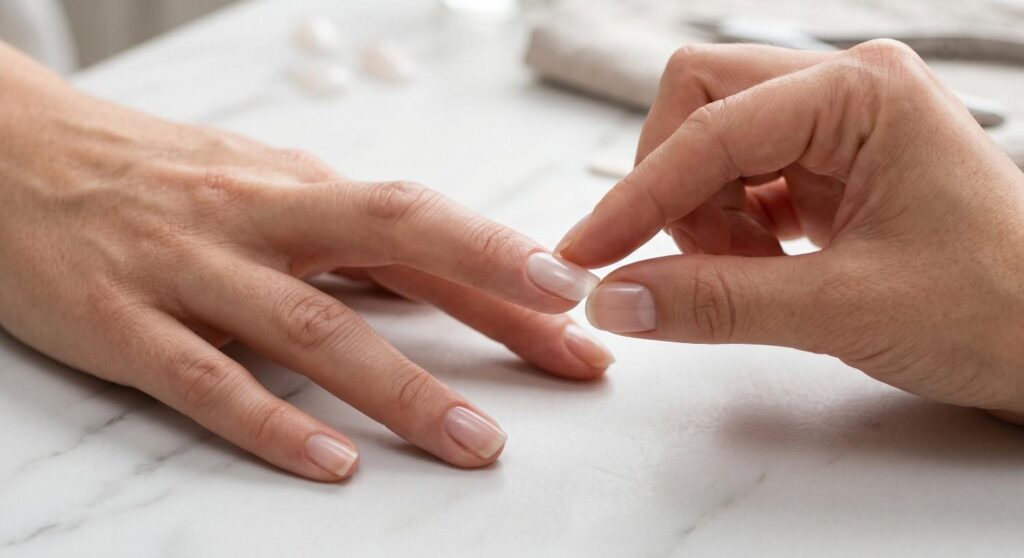
✅ Step 3: Choose the Exact Right Size
Fit is everything. A press-on that’s too small leaves gaps; one that’s too big sits on your skin and lifts quickly.
- Test each nail against your natural nail bed. It should cover edge-to-edge without touching your skin.
- Pro sizing trick: If you’re between sizes, choose the slightly larger one and gently file the sides down until it fits perfectly. Never force a small nail—it will pop off.
- Lay them out in order (thumb to pinky) before gluing. This saves time and
- prevents mix-ups mid-application.
✅ Step 4: Buff & Dehydrate Your Nails
This is the step most people skip—and it’s why their nails lift.
- Lightly buff the surface of your natural nails with a fine-grit file. You’re not trying to thin them; you’re just removing the natural shine to create a slightly textured surface for the glue to grip.
- Blow away dust, then wipe each nail with a lint-free pad soaked in acetone. This removes every trace of oil, moisture, and file residue.
- Let them air-dry for 30 seconds. Your nails should feel completely dry and slightly matte.
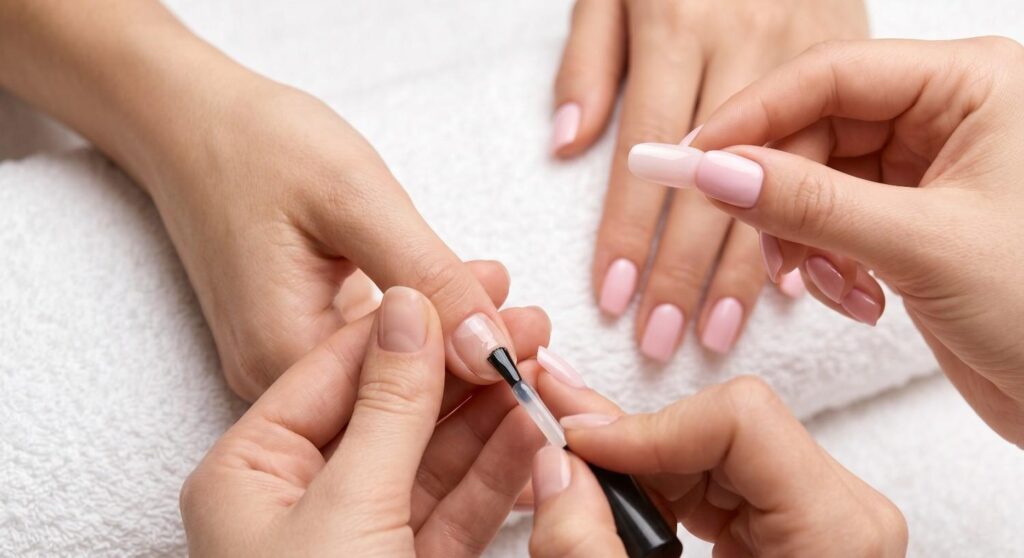
✅ Step 5: Apply with Precision & Patience
Now for the magic moment.
- Apply 2 small drops of glue to your natural nail, and 1 drop to the inside of the press-on.
- Align the press-on as close to your cuticle as possible (without touching skin), then press down firmly.
- Hold for 30–35 seconds. Don’t rush this! The glue needs time to form a strong bond.
- Wipe away any excess glue that squeezes out using a wooden cuticle stick or cotton swab.
- Avoid water, steam, and heavy hand use for at least 1 hour. I personally apply mine right before bed and let them cure overnight for 8 hours. This single habit doubles their lifespan.
Press-On Nail Tips to Remember
- Always buff & dehydrate before application. It’s the #1 factor in longevity.
- Zero moisture = maximum hold. Even a drop of lotion or hand sanitizer before gluing will cause lifting.
- Size correctly. A perfect fit prevents edge lifting and water seepage.
- Keep glue in your purse. Even with perfect prep, life happens. A quick dab can save a nail in seconds.
- Remove gently. Soak in warm, soapy water with a little cuticle oil for 10–15 minutes. Never pry or peel!
Longevity Is Built in the Prep
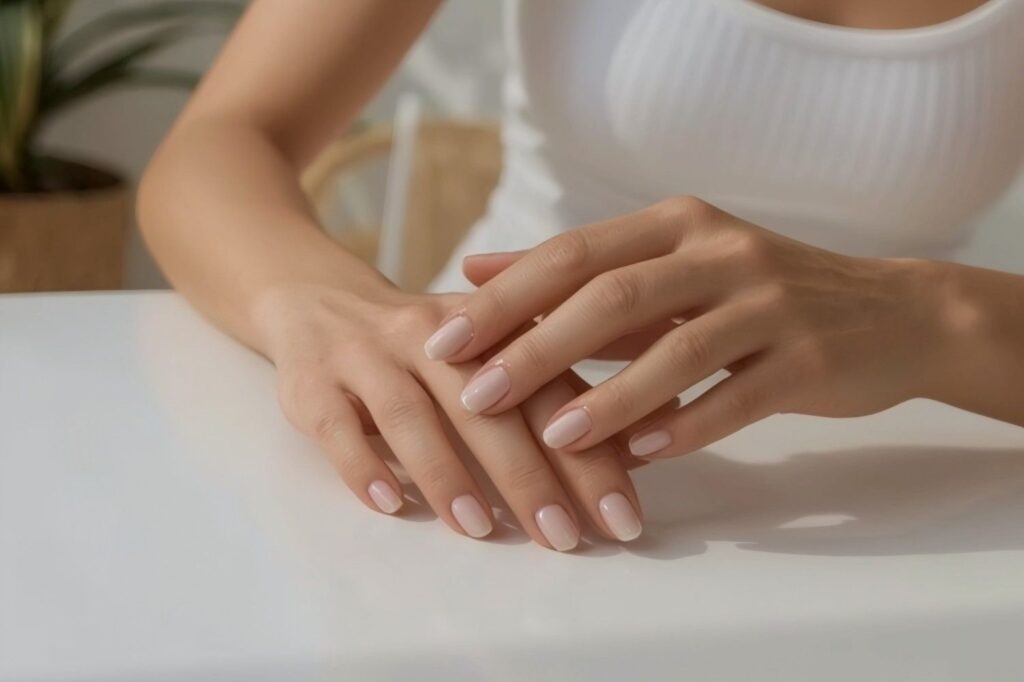
Making press-on nails last isn’t about luck. It’s about intentional, consistent care. When you treat your natural nails like a canvas that deserves proper priming, the results speak for themselves: smooth application, zero gaps, and a set that stays flawless through showers, typing, and daily life.
Press-ons have evolved from “temporary fixes” to legitimate, high-quality nail alternatives. And when you apply them with patience and precision, they look just as polished as a salon manicure—without the time, cost, or damage.
So next time you open a fresh set, slow down. Prep thoroughly. Size carefully. Press firmly. And watch how quickly “one-day wear” transforms into two weeks of flawless confidence.
Save this guide for your next application day, share it with a friend who’s tired of popping nails, or simply bookmark it as your go-to press-on bible.💅✨