Let’s be real: a cracked nail is the worst.
One minute you’re typing an email, the next—SNAP—you’ve got a jagged split that catches on everything. You panic, you worry it’ll rip off, and you’re suddenly Googling “how to fix cracked nail” at 2 a.m.
I’ve been there. As a nail tech (and a human who hates broken nails), I’ve fixed hundreds of cracks—from tiny splits to full-on “I’m never touching my nails again” disasters.
And here’s the good news: you don’t need a salon visit. With a few tools you probably already own, you can repair that crack in under 15 minutes.
No magic. No expensive serums. Just smart, simple steps that actually work.
Let’s get your nails back to smooth, strong, and snag-free.
Why This Happens (And Why It’s Not Your Fault)
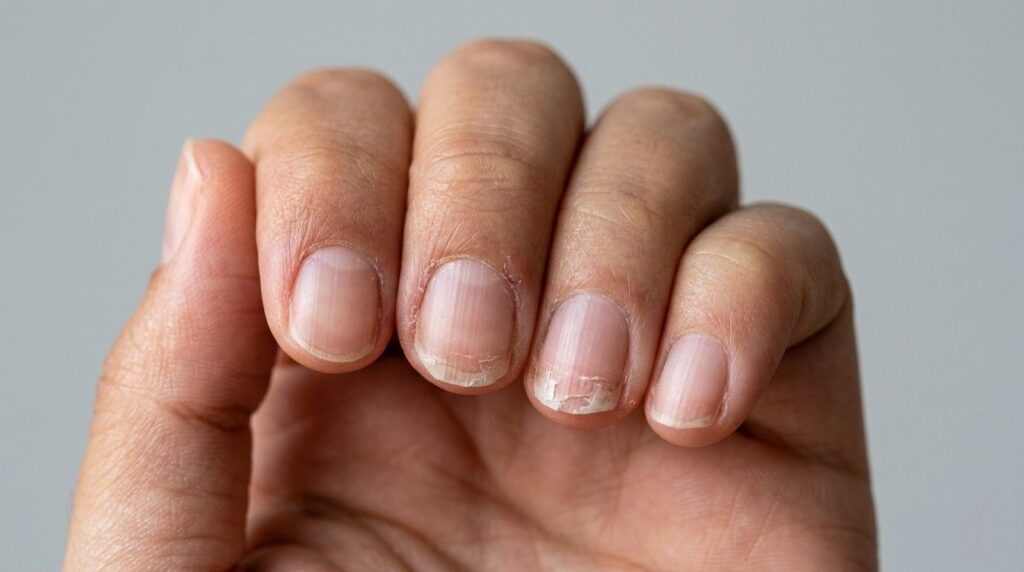
A cracked nail isn’t about “bad luck” or “weak nails.” It’s usually:
- Trauma (catching your nail on a drawer, biting, or typing too hard)
- Dryness (winter air, frequent handwashing, or harsh soaps)
- Over-filing (trimming too short or sawing back and forth)
The good news? Most cracks are fixable at home—if you know how to seal them right.
(Pro tip: If your crack is bleeding, painful, or near the cuticle—skip this and see a dermatologist. We’re fixing surface splits here.)
What You’ll Need (No Fancy Kit Required)
You likely have 3 of these in your bathroom already:
| Tool | Why It Matters |
|---|---|
| Nail file | Smooths the crack and creates grip for the repair |
| Rubbing alcohol | Cleans the nail surface (no residue = better adhesion) |
| Nail glue | The “glue” that seals the crack (I love Backscratchers Stikr—but any fast-drying glue works) |
| Fiberglass strips | The secret for strength (they’re like a tiny splint for your nail) |
| Quick-dry spray (like Kikr) | Cuts dry time from 5 minutes to 5 seconds |
| Block buffer | Gives a smooth, natural finish |
🌿 Don’t have all these? Skip the fiberglass and glue—use teabag paper + clear polish (I’ll explain later).
✨ Step-by-Step: Fix Your Cracked Nail in 7 Minutes
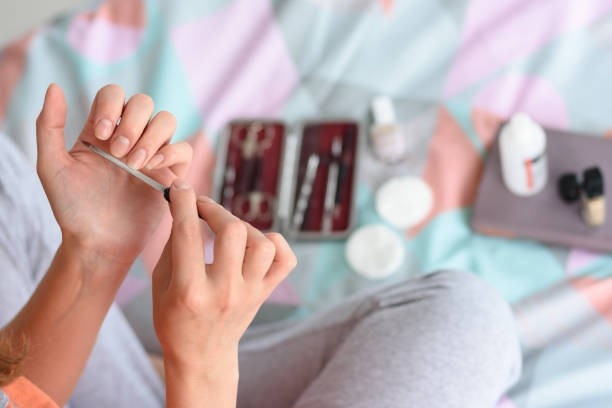
1) Gently Buff the Crack (Yes, Really!)
Why: Buffing roughens the surface so the glue sticks better.
How:
- Use a fine-grit file (240+ grit) to lightly smooth the crack.
- Don’t saw—file in one direction only.
- If you see any shine, buff a little more (shiny = smooth = glue won’t stick).
⚠️ Critical: Only buff the cracked area (not the whole nail). You’re not filing down—just prepping the surface.

2) Clean with Rubbing Alcohol
Why: Dust, oil, or lotion = glue won’t hold.
How:
- Soak a cotton pad in rubbing alcohol.
- Wipe the nail and the crack area.
- Let air-dry (no need to rinse).
💡 No spray bottle? Dip your nail directly into a cap of alcohol—just don’t let it pool in the crack.
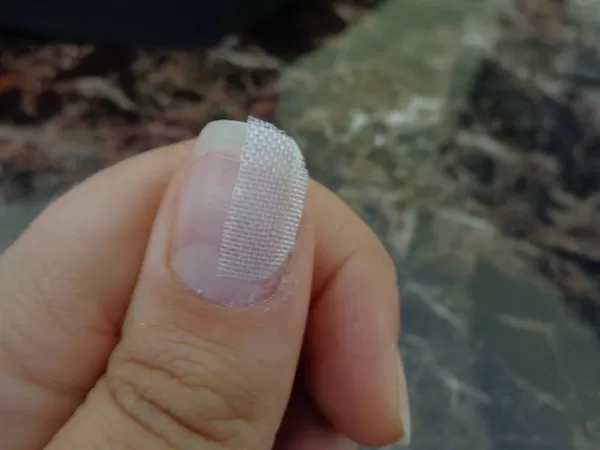
3) Apply Fiberglass (Your Secret Weapon)
Why: Fiberglass adds strength without making nails look thick or fake.
How:
- Cut a small strip (longer than the crack).
- Place it only over the crack (not on skin—this is key!).
- Press gently to smooth out bubbles.
🌟 Pro tip: If you don’t have fiberglass, use a tiny piece of teabag paper. It’s thinner, but works in a pinch!
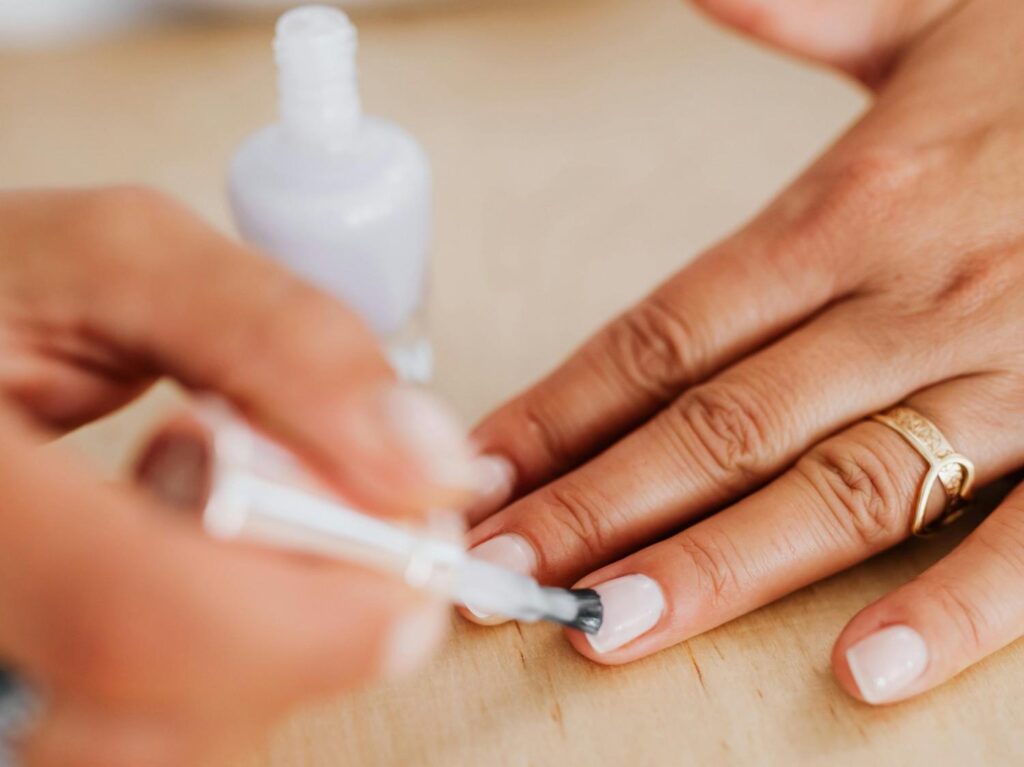
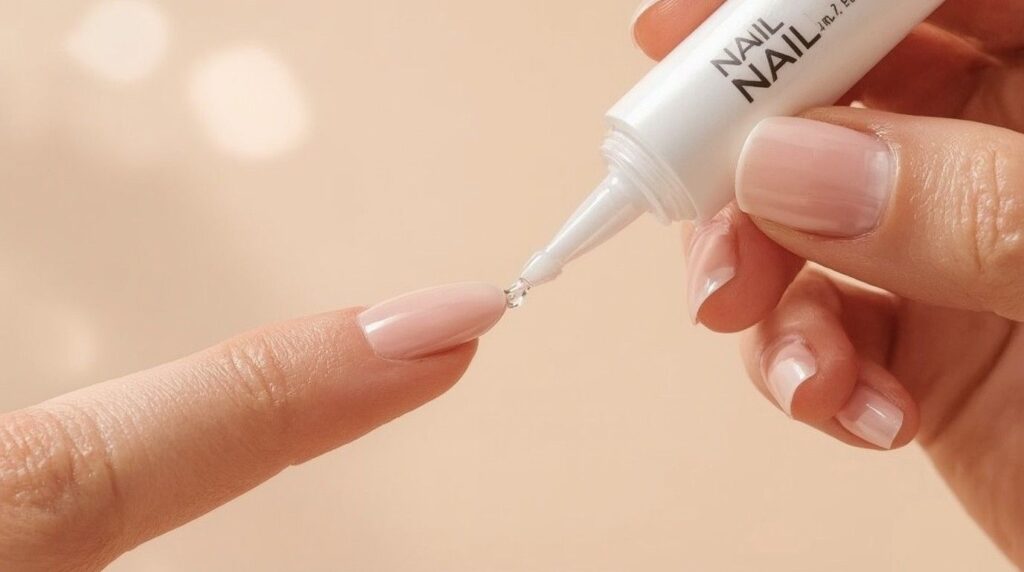
4) Add a Thin Layer of Nail Glue
Why: Glue seals the crack and bonds the fiberglass.
How:
- Use a thin brush (or the glue’s nozzle) to apply a pea-sized drop.
- Spread it only over the crack area (avoid skin—glue on skin = lifting).
- If you get glue on skin, wipe it immediately with an orange stick.
✨ Game-changer: Squeeze the glue bottle gently—too much = messy repair.
5) Dry It Fast (No Waiting!)
Why: Wet glue = smudges = starting over.
How:
- Spray with Kikr (or a tiny mist of rubbing alcohol).
- Wait 5 seconds—then test with a light tap.
- If it’s sticky, spray again.
⚡ No Kikr? Let it air-dry for 2 minutes (but don’t touch it).
6) Repeat Steps 4 + 5 (Twice More)
Why: 3 layers = stronger, longer-lasting repair.
How:
- Apply another thin layer of glue.
- Spray to dry.
- Repeat once more.
🔁 Pro tip: “Burp” your glue bottle between layers (squeeze the sides to push glue back up)—this prevents clogging.

7) Buff to a Natural Finish
Why: Smooths the surface so it feels like your nail.
How:
- Use a block buffer to lightly buff the repaired area.
- Run your finger over it—if it’s smooth, you’re done.
- If not, reapply glue + dry, then buff again.
🌿 Don’t overdo it: Buffing too hard = you’ll sand through the repair.
🌟 Bonus: What to Do If You Don’t Have Fiberglass
No worries! Try this 2-ingredient hack:
- Tear a tiny piece of teabag paper (the white part).
- Place it over the crack, then paint clear polish over it.
- Let dry, then add one more layer of polish.
It’s not as strong as fiberglass—but it’ll hold until you can grab the real stuff.
How to Keep It Fixed (The Maintenance Trick No One Talks About)
Your repair will last 3–4 weeks (until the crack grows out). But to keep it smooth:
✅ Check weekly: Look for lifting at the edges.
✅ Seal it: If you see lifting, apply one drop of glue + dry.
✅ Skip harsh removers: Use acetone-free polish remover.
🌟 Pro move: After 7 days, lightly buff the area with a block buffer. It keeps the repair smooth and invisible.
Your Nails Are Stronger Than You Think
A cracked nail isn’t a disaster—it’s a chance to care for your nails like they deserve.
This repair isn’t about “fixing” something broken. It’s about respecting the little things that hold your world together—your hands, your touch, your confidence.
So tonight, grab your nail file, your glue, and that forgotten bottle of rubbing alcohol. Fix that crack. And remember:
Strong nails aren’t born—they’re built. One repair at a time.
💬 P.S. Tried this? Tell me how it went—I read every reply. And if you’re stuck, drop a comment—I’ll help you troubleshoot!