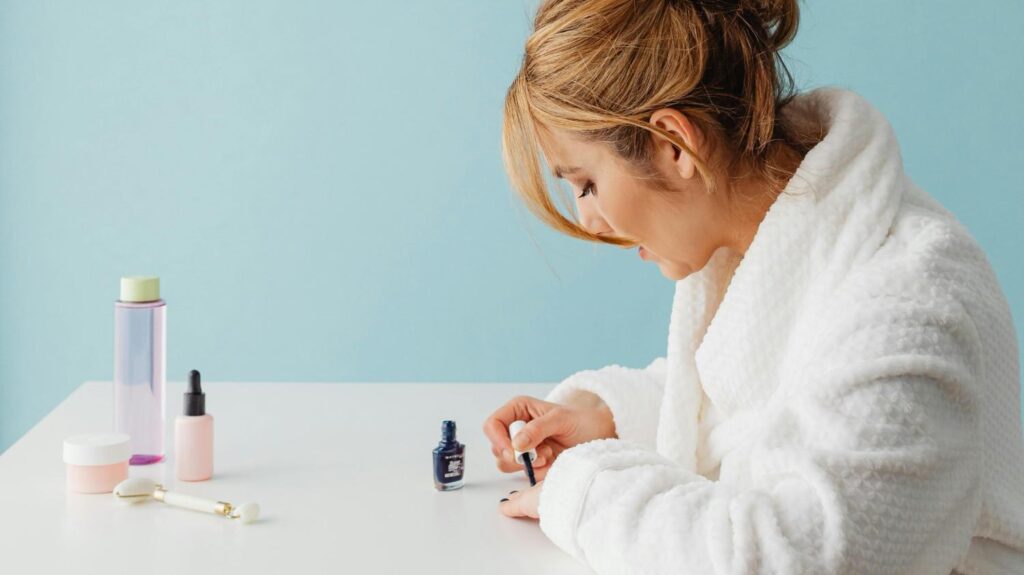
Let’s be real: we all want salon-perfect nails—but who has the time (or the budget) for weekly appointments?
I used to think doing a manicure at home meant sticky polish, uneven lines, and a sink full of messy tools. Then I tried a simple, real at-home routine—and wow. My nails looked better than they ever did at the salon.
The secret? You don’t need fancy products or hours of time. Just a few thoughtful steps, a little patience, and the willingness to treat your hands like the precious things they are.
Below is my exact step-by-step routine—the one I’ve used for years to keep my nails strong, smooth, and actually pretty. No jargon. No fluff. Just what actually works.
Let’s get your hands looking (and feeling) like a million bucks—starting tonight.
Why Do This? (It’s Not Just About Looks)
A good manicure isn’t just for Instagram—it’s self-care in action.
When your nails feel smooth and cared for, you:
- Type with more confidence
- Feel less self-conscious in handshakes
- Notice tiny details (like that perfect French tip) that make you smile
Plus, skipping the salon saves you $15–$40 per week—and who wouldn’t want that?
Let’s get started.
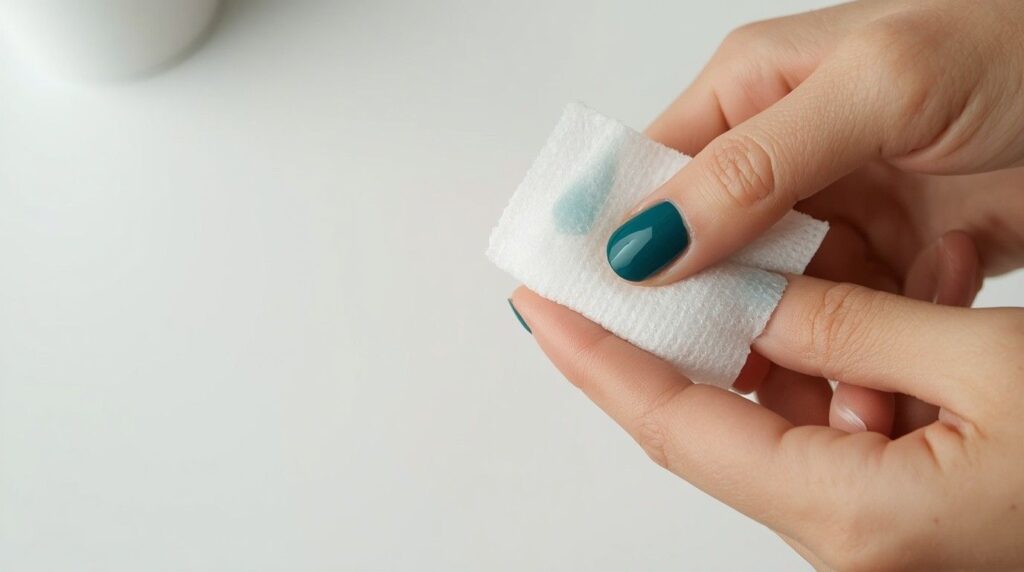
✨ Step 1: Remove Old Nail Polish (Gently!)
Why it matters: Harsh removers strip natural oils, leaving nails dry and brittle.
How to do it right:
- Use acetone-free remover (or a DIY mix: 2 tbsp olive oil + 1 tbsp lemon juice)
- Soak a cotton pad, press on each nail for 10 seconds, then gently wipe away
- Never scrape—this damages the nail plate
💡 Pro tip: Keep a small bottle of remover by your sink. Touch up chipped polish before it gets worse!
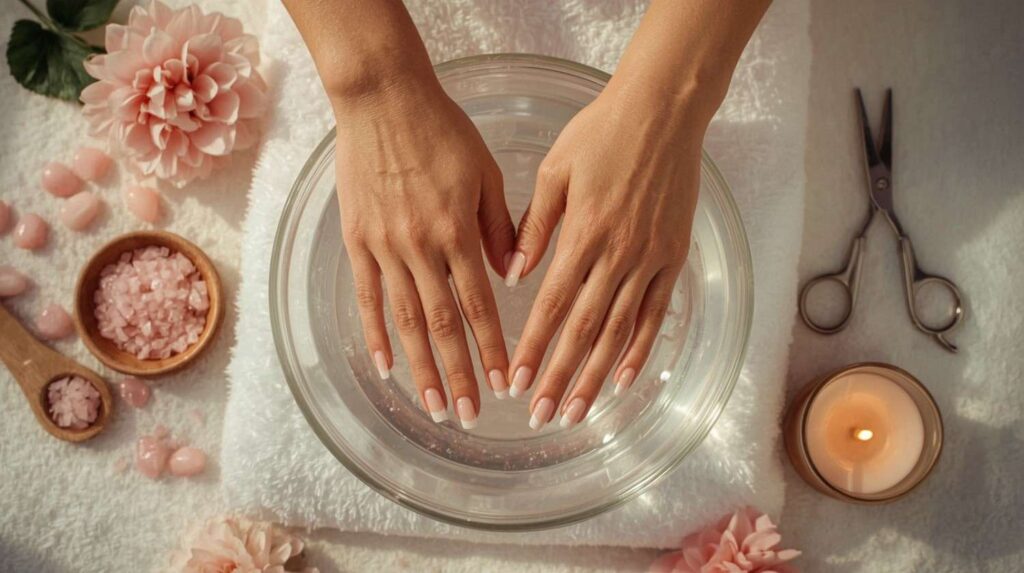
✨ Step 2: Soak Your Hands (The Secret to Soft Skin)
Why it matters: Soaking softens cuticles and opens pores—making everything easier.
How to do it right:
- Fill a bowl with warm water (not hot!)
- Add a few drops of shampoo or rosewater (for extra softness)
- Soak for 5–7 minutes
🌿 Real talk: Skip this step, and your cuticles will fight back. Don’t skip it!
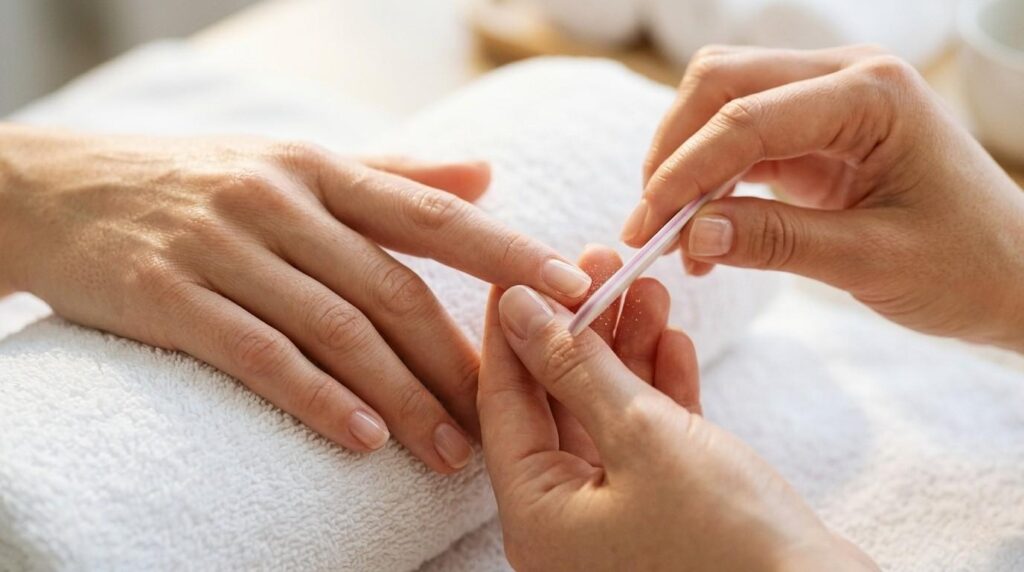
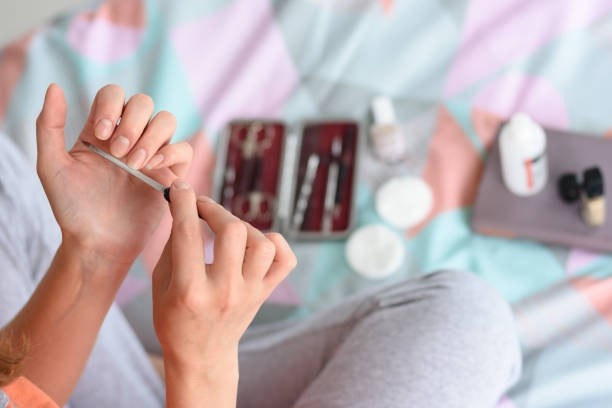
✨ Step 3: Shape Nails (Your Secret to Long-Lasting Polish)
Why it matters: Rough edges = snags, splits, and chipped polish.
How to do it right:
- Use a glass or crystal file (no back-and-forth sawing!)
- File in one direction only
- Shape to your preference (square, oval, almond)
⚠️ Critical: Never file wet nails—they’re soft and easy to damage.
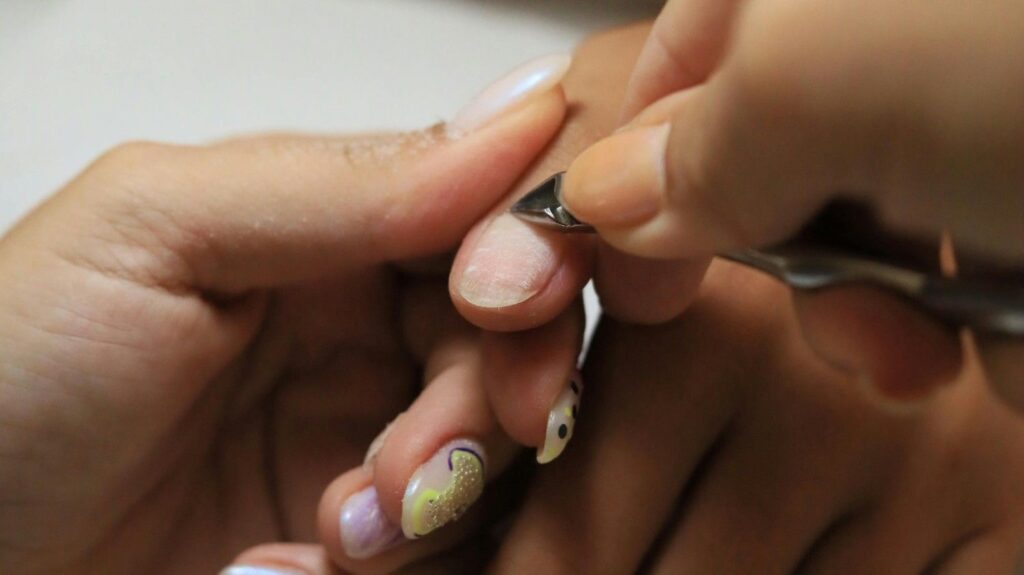
✨ Step 4: Push Back Cuticles (Not Cut!)
Why it matters: Cuticles are a protective barrier—cutting them invites infection.
How to do it right:
- Use a wooden orange stick (never metal!)
- Gently push cuticles back after soaking
- Never cut—if they’re overgrown, see a pro
✨ Bonus: Apply a drop of cuticle oil first—it makes them glide.
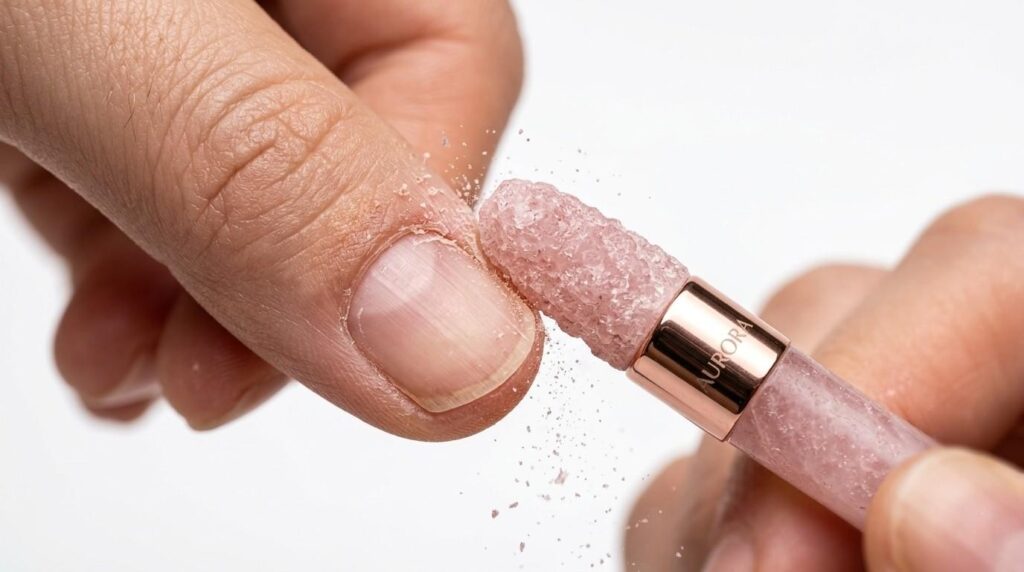
✨ Step 5: Exfoliate & Scrub (For Smooth, Soft Skin)
Why it matters: Dead skin around nails = dull, uneven polish.
How to do it right:
- Mix 1 tsp sugar + 1 tsp honey + 1 tsp olive oil
- Gently scrub cuticles and nail edges for 30 seconds
- Rinse with lukewarm water
🌟 Pro move: Use this scrub before your soak—it preps skin for better absorption.
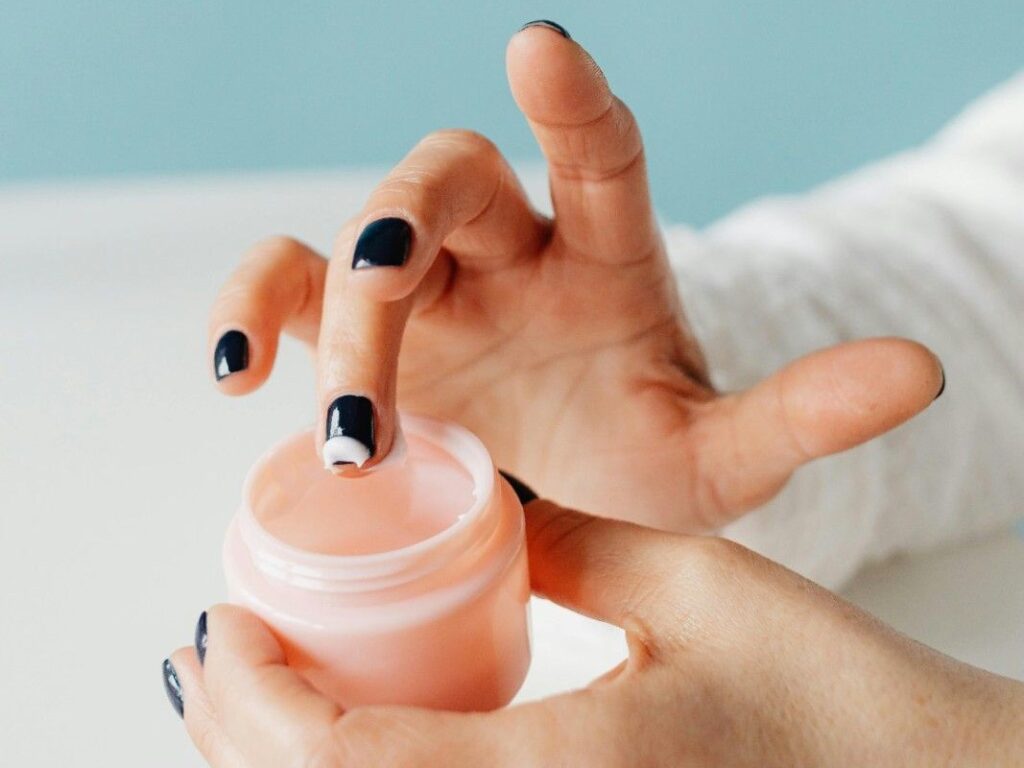
✨ Step 6: Moisturize (The Step Everyone Skips)
Why it matters: Dry cuticles = cracked, painful skin that pulls at your nails.
How to do it right:
- Use rich hand cream (look for shea butter or jojoba oil)
- Massage into cuticles and nails for 30 seconds
- Always do this after exfoliating
💡 Real talk: I keep a mini hand cream in my bag. Reapply after washing hands.
✨ Step 7: Apply Base Coat (Your Polish’s Best Friend)
Why it matters: A good base coat prevents staining, adds strength, and makes polish last longer.
How to do it right:
- Use 2 thin coats (not one thick one)
- Let dry for 2 minutes between coats
- Never skip this step—even if you’re in a rush
✨ Pro tip: A base coat with calcium or keratin = stronger nails.
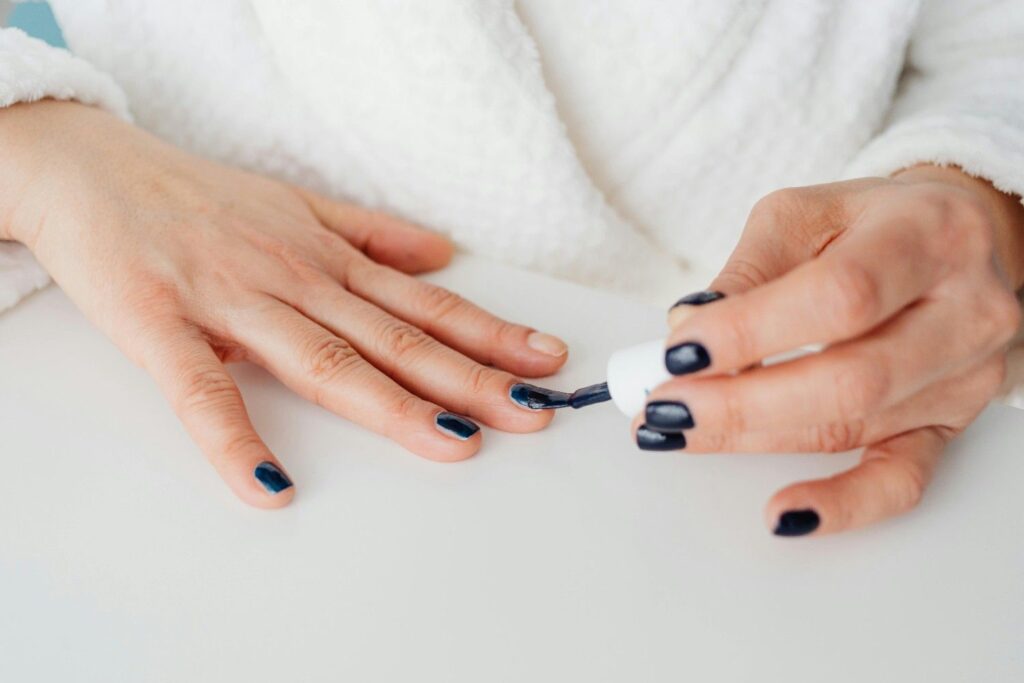
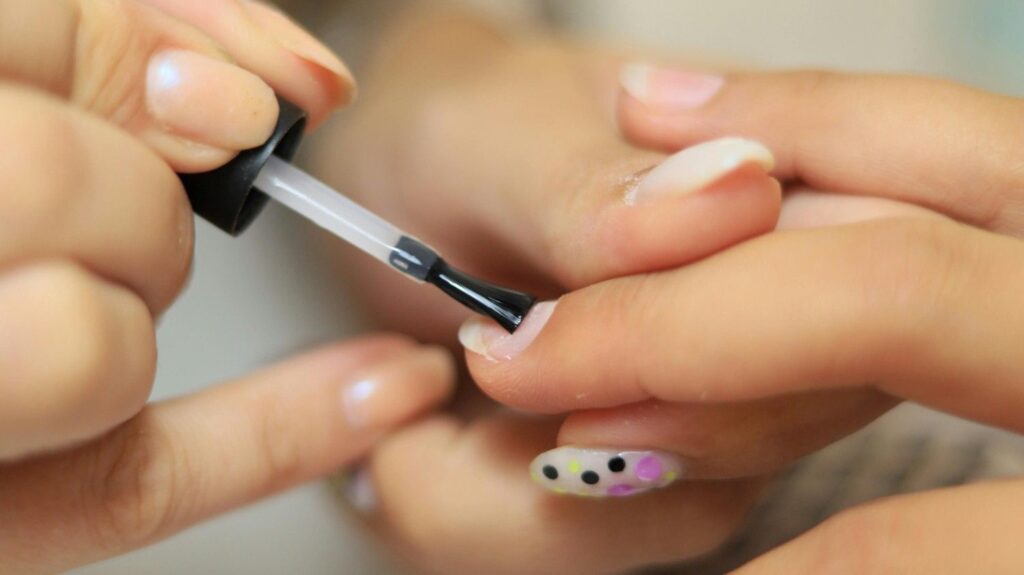
✨ Step 8: Apply Nail Polish (The Fun Part!)
Why it matters: Thin layers = smoother, longer-lasting color.
How to do it right:
- Use 2 thin coats (not one thick one)
- Let dry for 3 minutes between coats
- Cap the free edge (paint the tip of the nail) to prevent chipping
⚠️ Critical: Don’t rush this step. Thick polish = bubbles, streaks, and peeling.
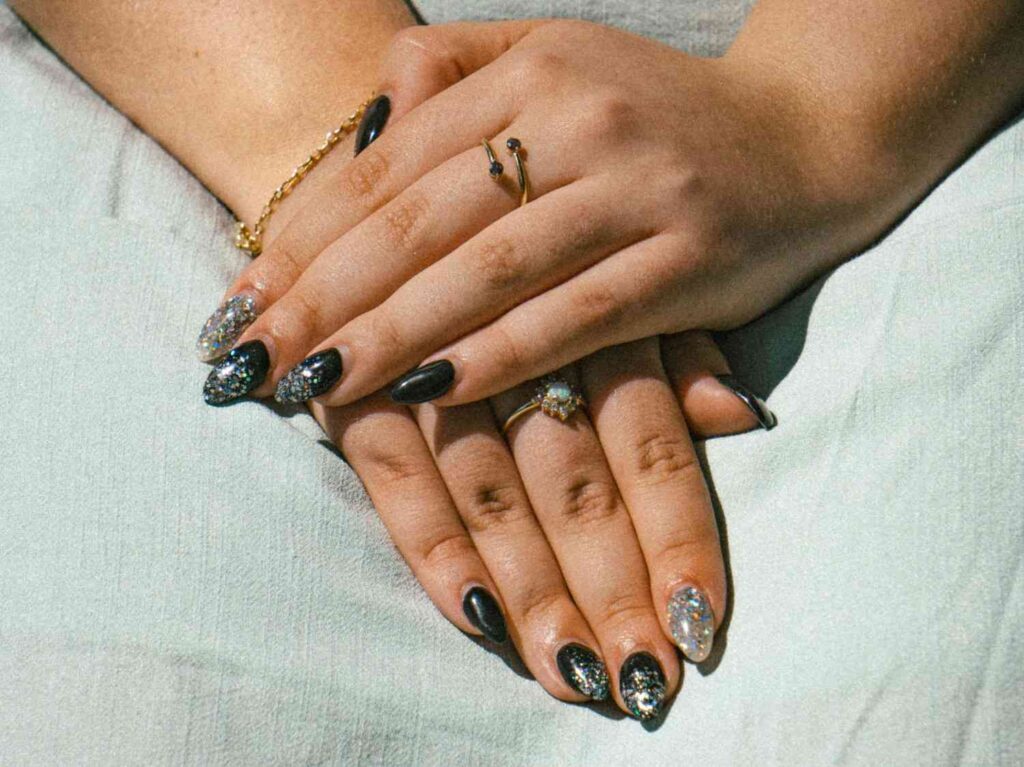
✨ Step 9: Final Touch (The “Wow” Factor)
Why it matters: A little extra care = salon-level shine and longevity.
How to do it right:
- Apply top coat (2 thin layers)
- Add stickers, glitter, or rhinestones while top coat is wet
- Let dry completely before touching anything
💖 Bonus: For extra shine, apply cuticle oil after top coat dries.
🌿 Pro Tips for a Flawless At-Home Manicure
| Habit | Why It Matters |
|---|---|
| Wear gloves for dishes | Water weakens nails—protect them! |
| Trim nails weekly | Prevents snags and keeps shape |
| Skip acetone removers | Harsh on nails—use oil-based instead |
| Moisturize daily | Keeps cuticles soft + prevents cracking |
Your Hands Deserve This
You don’t need a salon to feel confident in your skin.
A great manicure isn’t about perfection—it’s about taking time for yourself. The 20 minutes you spend on this routine? They’re an investment in how you feel every day.
So tonight, grab your bowl, your polish, and that little bottle of cuticle oil. Your nails (and your confidence) will thank you.
Because beautiful nails aren’t born—they’re built, one gentle step at a time. 💅✨